
 CHECKIN.VN

Check-in instructions when buying airline tickets through an agent
- Friday, May 23, 2025, 18:24 (GMT+7)
Check-in instructions when buying airline tickets through an agent
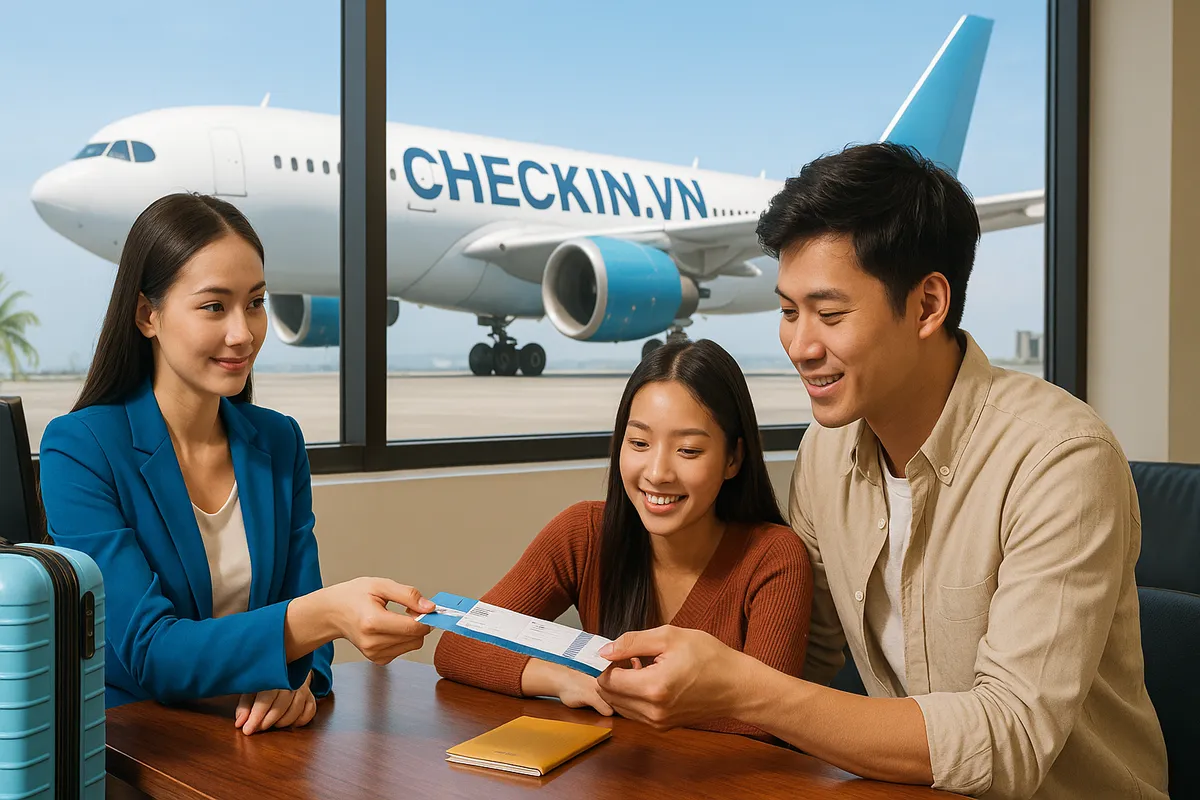
Many travelers who book flights through travel agents often find themselves confused about what to do next. Some expect to receive a QR code that grants direct airport access, but only get a booking reference. Some arrive late at the airport, assuming the agent has already checked them in, only to face long queues or even miss their flight. These misunderstandings are common, especially among infrequent travelers, older passengers, and group travelers. To ensure a smooth journey, understanding the correct check-in process after booking through a travel agent is essential.
The check-in process depends on the airline, not on where the ticket was purchased. Whether booked via the airline’s official website, a ticketing office, a mobile app, or through a travel agent, passengers must complete the airline’s official check-in procedure. The agent only provides the booking reference. The actual check-in, seat selection, boarding pass issuance, and baggage drop are the passenger’s responsibility or handled by airline staff at the airport. Below is the complete step-by-step guide to help passengers do it right and avoid unnecessary complications.
Immediately after ticket purchase, check the confirmation sent by the agent. Locate the booking reference (also called PNR), which consists of six alphanumeric characters, and identify the airline name. Carefully verify the personal details on the booking: full name, date of birth, ID document number, travel dates, and flight times. Report any errors before the check-in window opens.
With a valid booking code, there are three check-in options: via the airline’s website or mobile app, at an airport kiosk, or at a staffed check-in counter. Check-in usually opens 24 to 48 hours before departure depending on the airline, and closes between 40 to 60 minutes before the flight. For international flights, check-in may close even earlier.
Online check-in via app or website is the fastest option, especially if you do not have checked luggage. Simply enter the booking code and passenger name, follow the instructions to confirm your details, select seats, add baggage if needed, and retrieve your boarding pass. The pass can be saved as a PDF, a screenshot, or stored in a digital wallet. Some airlines issue a QR code for direct airport access.
If online check-in is not available (due to technical issues, unsupported routes, or lack of access), arrive early at the airport to use a self-service kiosk or check-in counter. Plan to be at the airport at least two hours before a domestic flight, or three hours for international flights. Group travelers or those with children should allow an extra 30 minutes.
At the airport, if you have checked in online but need to drop off luggage, proceed directly to the baggage drop counter. Show your digital boarding pass and valid ID. If you haven't checked in yet, go to the airline’s counter, present your booking reference and original ID, and complete the procedure.
Older passengers, those unfamiliar with smartphones, or international visitors may ask the travel agent to print tickets and provide step-by-step instructions. Some major airports have staff stationed near self-check-in kiosks to assist passengers.
A critical note for passengers booking through travel agents: no airline automatically checks you in. Claims such as “you’ve already been checked in” mean nothing unless accompanied by an official QR code or boarding pass issued directly by the airline. To avoid risk, passengers must personally verify that the check-in is complete and keep all related documents. For group bookings, it’s best to check in together to avoid seat separation.
Common mistakes that can result in denied boarding include: arriving after check-in closes, name mismatches with ID, using the wrong type of ID (such as a domestic card instead of a passport for international travel), failing to validate QR codes, or booking through unreliable agents whose codes are not recognized by the airline.
Helpful tip: if you don’t receive your confirmation email within five minutes, contact the agent immediately. If the booking code doesn’t work on the airline app, try the website or call the airline’s hotline. For international flights, ensure your passport is valid for at least six months from the travel date and that any required visa is current. Always store copies of your ticket, booking code, and ID documents on your phone and share backups with someone you trust.
Airlines may have different check-in rules or baggage policies. For instance, Vietnam Airlines allows online check-in from 24 hours up to one hour before departure. Vietjet Air may close check-in earlier and does not support online check-in at some smaller airports. Bamboo Airways requires all passengers to be at the gate at least 30 minutes before departure, even with a boarding pass.
In special cases such as a lost booking reference or missing confirmation email, passengers can provide the registered phone number or email for airline staff to retrieve their booking. However, failing to confirm this information in advance may still result in missed flights or forfeited benefits.
In summary, check-in after booking through a travel agent is not complicated if done correctly. The key is to verify the booking code, prepare the necessary documents, follow the specific timelines, and perform the right actions based on the airline’s requirements. Do not rely solely on third parties without double-checking everything yourself. In the dynamic environment of air travel, being prepared and well-informed is the most effective way to prevent trouble and ensure a successful trip.


Share on